

Learn from Jay R. Smith Mfg. Co.’s Years of Experience
With years of manufacturing all types of trench drain under their belts, engineers at Jay R. Smith Mfg. Co.® have come up with a list of 10 tips—and a bit extra—to assist you in specifying a trench drain system. By applying the following tips during design, you will avoid situations that might cause headaches both during and after installation.
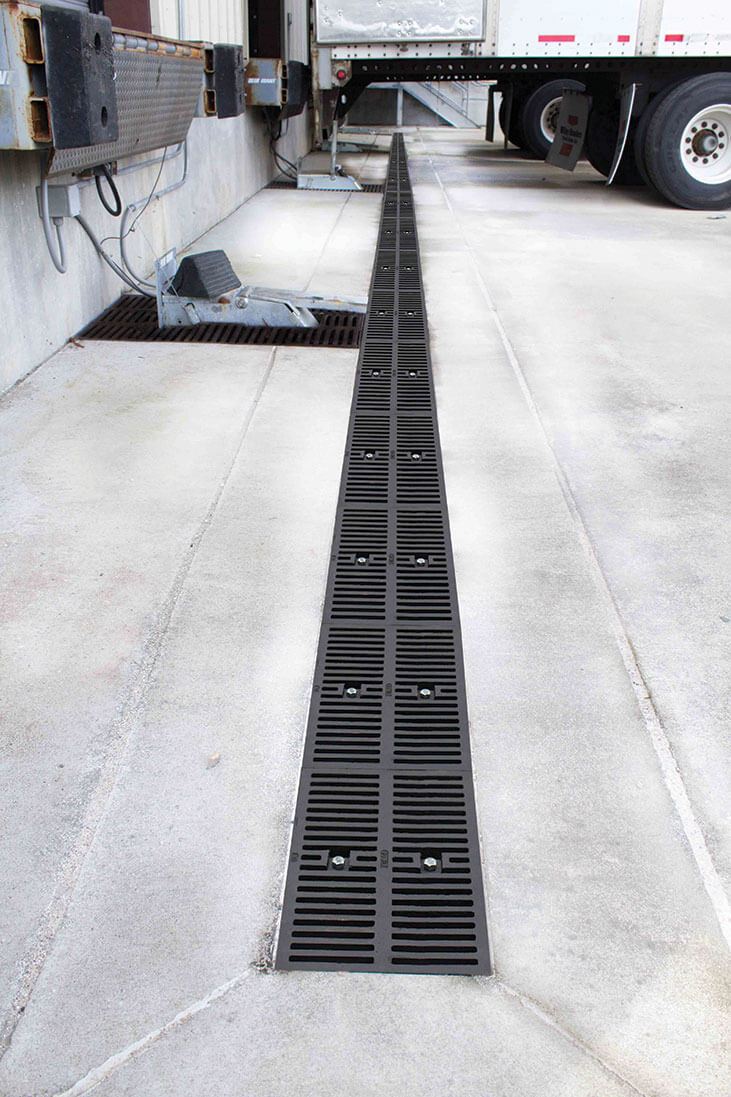
1. Identify the anticipated traffic traveling over the trench drain. Areas such as an airport runway will have significantly higher load requirements than areas devoted to pedestrian traffic and, therefore, require different materials. That much is obvious, but you also want to consider the direction a vehicle will be approaching the trench drain and the speed that traffic will be moving when it drives over the trench. Forklifts running parallel to the drain versus perpendicular are going to cause very different wear and tear on the drain, as will tractor trailers slowly backing up to a loading dock versus those speeding over the trench at 50 mph.
Bonus Tip: Even pedestrian traffic has its own set of considerations—footwear. If you are specifying trench drains for shopping centers, office plazas, or similar locations where people might be sporting pointy heels, consider “heel-proof” grates.
2. Calculate the length and width of the catchment area. Calculating the catchment area seems pretty straightforward, but sometimes the catchment area can be deceiving.Say you have a parking lot that is 200′ by 400′. That is a simple calculation: 800 square feet. However, what if that parking lot is sitting next to a warehouse (200′ by 600′), and the rainwater runoff from the roof goes directly onto the parking lot? In this case, your catchment area is actually the combined measurements of both the parking lot and the warehouse roof.
3. Consider site restrictions and utilities. Be sure to consult as-built drawings when calculating trench drain for installation in and around existing buildings. Certain obstructions, such as shallow utilities, can often be relocated and will not have any effect on your system design. Even when relocating utilities is not an option, a shallower, wider trench will often be able to handle the same amount of fluids.
4. Identify the outlet position and source and flow rate of the liquid to be drained. If all you are dealing with is rainwater runoff, you can find your installation area’s rainfall intensity charts very easily online. Be sure to check rates for 20-, 50-, and 100-year storms—keeping in mind that 100-year storms, despite the moniker, can happen more frequently than once a century. Indoor situations often have more factors to consider. For example, what if you were working with a dairy that uses several 2,600-gallon bulk tanks? You will need to find out what the flow rate is when the valves on the tank are opened. You also need to consider not just what those tanks are for—meaning the liquid being stored—but you also want to know how they are being cleaned. For example, brewery tanks hold beer, and they are often cleaned with caustic, which leads to Tip 5.
5. Determine the concentration of the chemicals to which the system may be exposed. Whenever chemicals are involved, you need to know the precise chemical, the concentration of the chemical, the temperature of the affluent, and how long the drain will be exposed to the compound. For example, you might be designing a trench system to be built around an area where there could be battery acid leaking onto the floor. You will want to know whether that acid will sit in the drain for only a couple hours before it is flushed out or sitting all weekend or even for weeks. That information is going to affect the desired material of the trench you specify (more on that in Tip 8).
6. Determine runoff surface flow characteristics. Liquid runs at different speeds across concrete, asphalt, and pavers because of their surface characteristics. The smoother the surface, the faster the fluid will flow. However, that is not the only variable you need to know. You also want to consider how steep or shallow the approach slope is, as well as the length of that slope.
7. Determine the number, size, and positions of outlets to the drainage system. The size and position of the outlets determine the efficiency of the drain, and that information is usually taken into consideration by the design engineer. However, if you are simply replacing or installing a trench as part of a smaller renovation, you need to know the size of the outlet into which the channel is directing the flow. A 4″ outlet at the end of the trench could restrict the flow, whereas dropping fluid directly into a catch basin would not.
8. Match the trench drain material with the application. Trench drains are typically made of cast iron, polypropylene, stainless steel, polymer concrete, and fiberglass. Stainless steel trench drains have the best chemical resistance, but you should also look for one that is manufactured with radius-rounded edges, so contaminants cannot get a foothold and grow. That chemical and contamination resistance and the fact that stainless steel can stand up to boiling water make it perfect for kitchens, dairies, and breweries. If you have steel-wheeled pallet jacks, solid tire fork lifts, or track vehicles such as tanks or heavy construction equipment rolling over your trench, polymer concrete is probably the material of choice. However, if you are looking for an excellent general-purpose trench drain with optimal flow characteristics, chemical resistance, and a low price point, consider polypropylene.
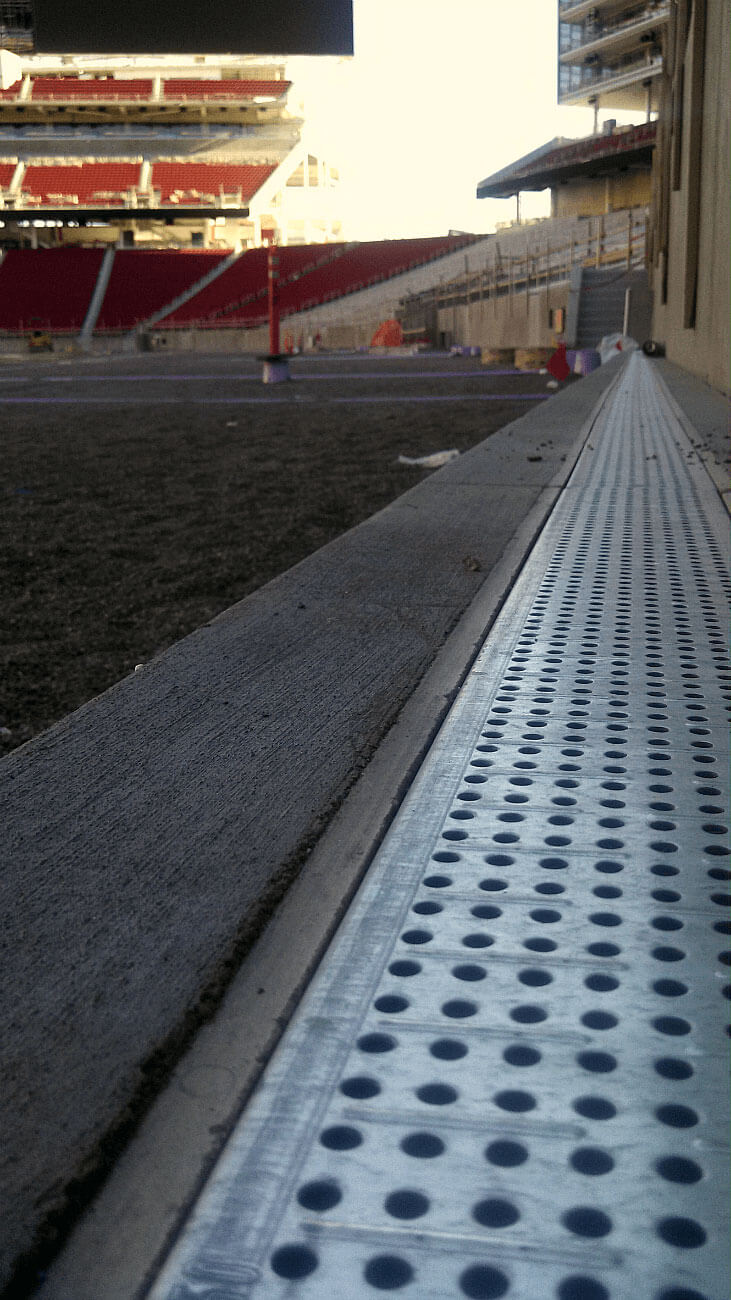
A Polymer Concrete Trench Drain System is appropriate for extra-heavy-duty hard wheel traffic applications.
9. Specify trench drains appropriate to the area. Whether the area you are draining is vast or just complicated, break it down into manageable areas, because insufficient drainage will cause pooling and possibly flooding. If standing water could be an issue—for example, in cold climates where ice could cause someone to fall—work with the manufacturer to find the best solution.
10. Have a preinstallation discussion with your trench drain manufacturer. Before you even discuss plans for how you intend to install the product, consult with your manufacturer on recommended installation techniques. Not having this talk is at the root of most problems MCAA contractors experience. You will end up saving time, money, labor, and quite possibly your back if you do. Manufacturers can even give you recommendations on how to make the job more bearable on a 90-degree day.
10 1/2. Take advantage of your manufacturer’s resources. Whether it’s resources on the website or technical engineers walking you through everything from specification to installation, be sure to take advantage of what is available from the manufacturer. It is a whole lot smarter and cheaper to use those resources at the very beginning of a project, instead of once the product is already in the ground. If you have questions about the load, hydraulics, or any unusual situations, a manufacturer will be happy to provide assistance and direction.
For more information, visit www.jrsmith.com.